
Most of my projects start with how to solve a problem. Solutions need to be inexpensive but also look good. The Problem: I bought an “oncidium” without knowing how to care for it. After some research I found out that the best place for a tolumnia is on a mounted on a piece of wood. But that means more problems.
Tolumnias need to be watered every morning. So every morning I’d have to take the orchid mount down, soak it, and hang it back up in the time that takes to brew a small pot of coffee.
Everywhere on the internet all I found were examples of people mounting orchids on cork bark and hanging them with heavy gage wire. A simple enough solution but my plants also have to fit the aesthetics of my living space. I don’t have a grow room. My house is my grow room, I like living close to my plants. So an industrial/utilitarian solution would not do.
For days and days the ideas went back and fourth in my head as I was searching for a location for this tiny little plant. Bright light, some direct sun, but not more than two to three hours. Every morning taking a dunk then going back up to dry out for the day. Air movement. On the wall but not touching—I don’t want mold issues.
Then one night it all fell into place. Out of nowhere. What about magnets?
So off to the garden centre I went to look for a mount. Tillandsias are really trendy right now in my town so I knew that I’d be able to find something. I bought two different types of wood, grape and cholla, not knowing what would fit best in my house.

Now screws and magnets. The screws are 2″ brown deck screws and the magnets I pilfered from an old key ring holder.
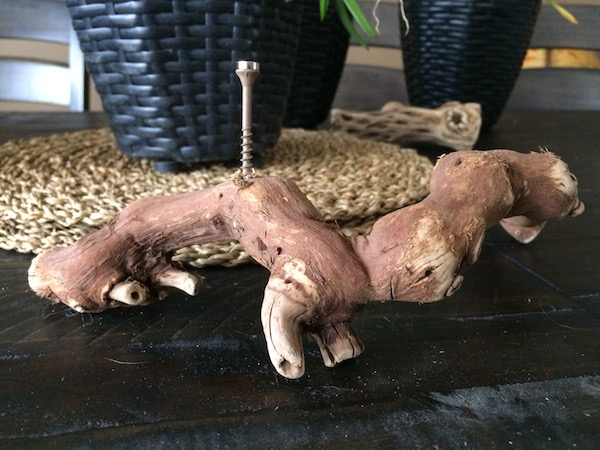
I had to go slow with the wood screws using a hand screwdriver so I did not accidentally split the wood. Also making sure I was perpendicular to the table top.

With the screws in the wood and magnets on the screw heads, I made marks on the wall where I wanted the piece to hang.

I put a single drop of super glue on each magnet, stuck them in place, and held it for ten seconds. I then used a hairdryer to speed up the drying process (because I’m impatient).
Now to mount the orchid on the wood.

By soaking the roots I was able to remove the plant from the basket with minimal damage.
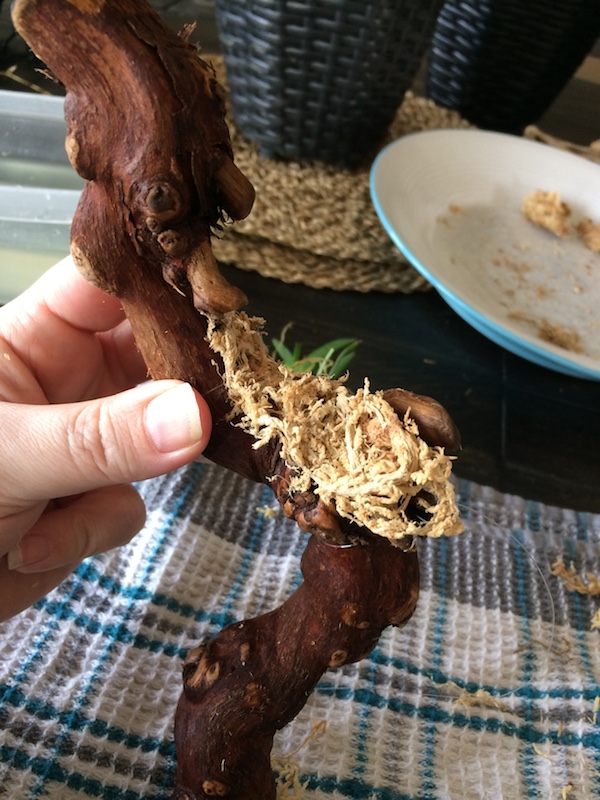
This is literally only three pieces of long strand sphagnum moss laid down in a single layer. For this particular species I want it to retain a little bit of moisture and humidity surrounding the roots for the morning but then have it dry by mid-late afternoon.
 The plant is held on with the fishing line. I had to use a darning needle (blunt needle used for yarn) to thread the line between the fans of the plant. Afterwards I took two more long strands of sphag and tucked around over top, and between, the roots in a single layer with a pair of modelling forceps. These are not sewn down. I’m using just friction of the roots to hold it in place.
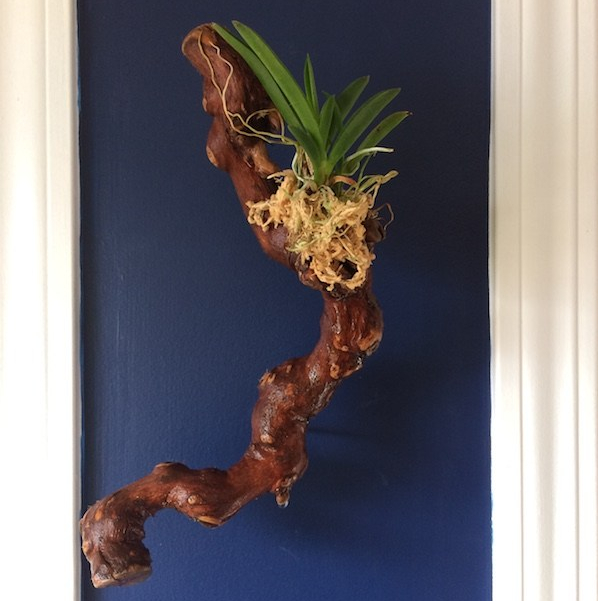
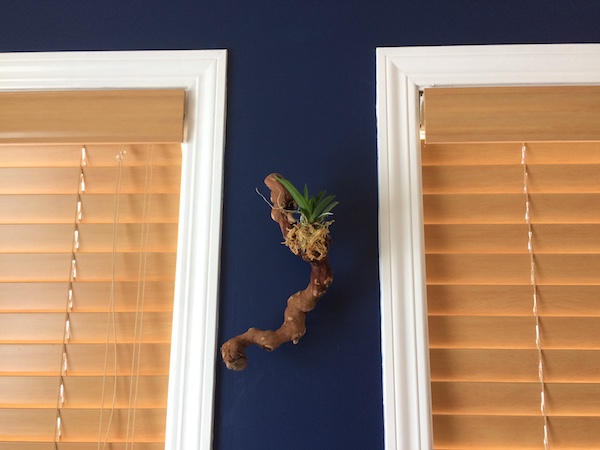
And Tada! I mounted it quit high up so my giant dog was less tempted to make a go for it. He really really wanted that stick.

This is brilliant! I just received a large order of micro green seeds. Would you like some?
J
LikeLike
You know I can’t say no to seeds!
LikeLike